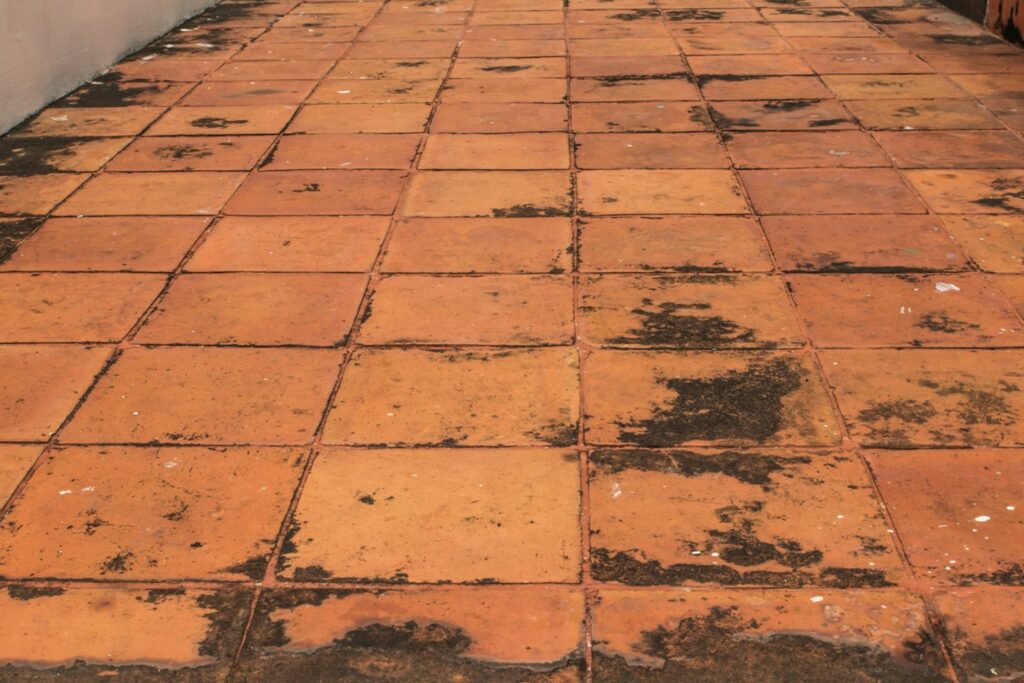
The porous and soft nature of saltillo tile makes them so delicate that cleaning them it’s a struggle on its own. However, that’s not an impossible task! Learning the right process on how to clean saltillo tiles is key to keeping up with their maintenance and appearance. The process is not wildly different for any other kind of surface; you will need a bunch of tools that you probably have at home right now and a very specific step-by-step cleaning process.
In this article, we’ll explain everything there is to know and some more so that your Saltillo floors can be vibrant, beautiful, and in good condition for a long time.
What You’ll Need
Before you get to work, you’ll need to pick some tools and cleaning materials. Here’s the list;
- Broom (optional; dustpan or vacuum)
- Soft bristle brush
- A bucket
- Mop
- Dry towels or cloth
- Warm water
- Saltillo Tile cleaner (optional; mild detergent or dish soap)
- Sealer solution (optional)
How to Clean Saltillo Tile
Saltillo Tile floors are very durable, but you must follow specific cleaning steps to keep them sparkling and preserve their beauty in prime condition. Here’s the step-by-step guide;
Step 1: Sweep or vacuum the tile.
When cleaning Saltillo tile, you must first clean the loose debris, dirt, or accumulated dust. You can use a broom to sweep the floor or a vacuum cleaner, whatever you prefer. Usually, the grout lines and the corners are the places that get dirtier, so make sure to clean there too.
Step 2: Test the cleaning solution.
This is especially important if it is your first time learning how to clean Mexican tiles or trying out a new cleaning product. You don’t want discoloration or any kind of damage to the floor. So before you use a certain product to mop all the floors, try it in a small, unnoticeable area. Leave the product for at least a few minutes to act, and notice if there are any visible changes. If there isn’t any, the cleaning product s good to use.
Step 3: Prepare the cleaning solution.
It’s time to get to work! Throw some warm water in a bucket and mix it with a Saltillo tile cleaner. If you don’t have a specific solution, some dish soup or mild generic detergent will do. It’s important to avoid mixing harsh chemicals together when cleaning. Not only will it damage the title’s floor surface, but it can potentially be dangerous to your and your family’s health.
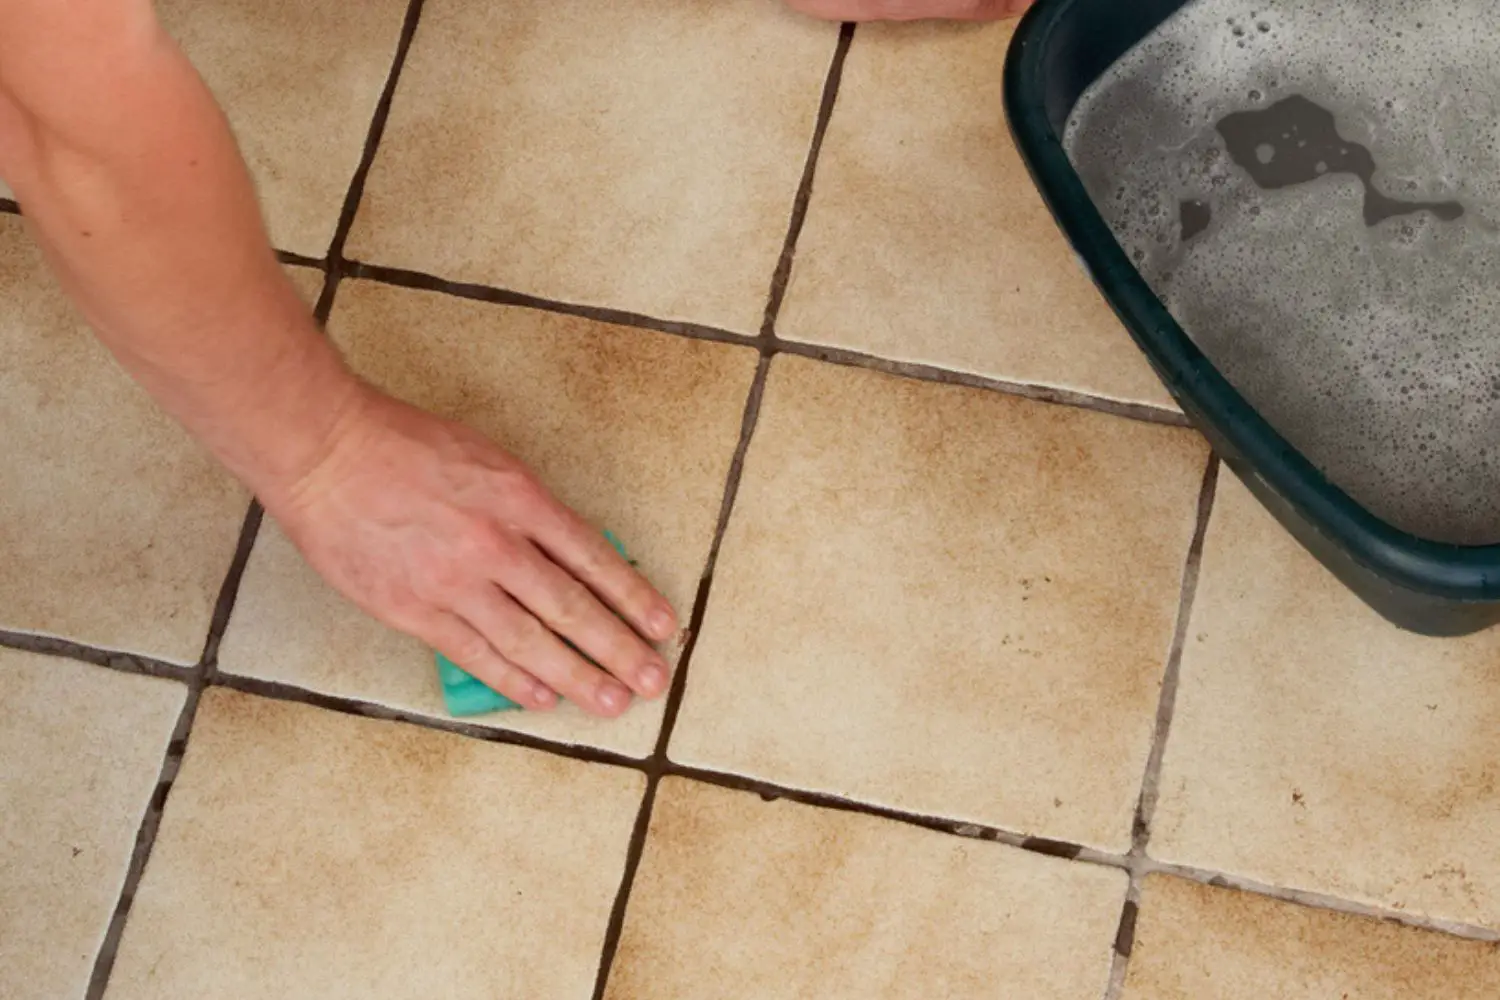
Step 4: Start scrubbing the tiles.
For this step, you will need the soft bristle brush. Dip the brush in the water and start scrubbing the title. Make sure to go in a circular motion, and be gentle so you avoid possible scratches on the surface. For this reason, it’s better to avoid abrasive scrubbers or brushes. While you scrub the floor, watch out for stains and areas that are particularly dirty.
Step 5: Clean the grout lines.
Your floor won’t be clean if you don’t scrub the grout lines, either. There’s where stains and dirt are more common. You will need a grout brush to clean those, but even an old toothbrush will work. Usually, you will need to apply some extra pressure when scrubbing at grout lines; however, be careful not to cause scratches or damages that can ruin your tile floor.
Step 6: Mop the floor.
After all that scrubbing, it’s time to mop. For this step, you will need some warm water in a bucket again, a mop, and a cleaning solution of your choice. Mop the floor thoroughly, and while you are on it, make sure to wring it out well so there is no access water left.
Step 7: Rinse the floor.
Remove any cleaner or soupy residue after you have scrubbed, and moping is time to rinse the floor. Fill in your bucket again with warm, clean water, but you have to add nothing to it this time. You will need a damp cloth or another clean mop for this step. Rinse the entire floor until you are completely sure that there is no solution remains left on the tiles that can cause damage or discoloration.
Step 8: Dry the tile floor.
Use an old towel you don’t need anymore or a mop to remove any excess water and dry the entire floor. Saltillo tiles are porous and absorb a lot of moisture fast. That’s why air drying doesn’t work because as the water evaporates, it leaves behind mineral deposits that get trapped on the tiles. As a result, your floor might get a dull appearance. Furthermore, it can cause stains, discoloration, cracks, etc. If you are not careful to dry the floor every time you clean, the damage might soon be so severe you must change.
Step 9: Apply a sealer (optional).
This last step is optional but highly recommended. Regularly applying a penetrating sealer to your saltillo tiles will prevent stains, make them easier to clean, and help maintain their natural shine. All you need is to pick up a good sealer solution and apply it to the floor; just make sure it is completely dry.
How to Clean Saltillo Tile with Vinegar
The best way to clean Saltillo tile is by using vinegar. Vinegar can be a great option if you are looking for a chemical-free natural cleaning agent. It also helps to kill bacteria, removes hard stains, and is safe for those who suffer from allergies.
If you are interested in learning how to clean Saltillo tile with vinegar, the process is pretty simple.
Step 1: Sweep or vacuum the tile.
Use a broom or a vacuum machine to remove all the dirt, debris, and dust from the floor. Regardless of your preferred cleaning methods, this is always the first to clean Saltillo tile floors.
Step 2: Prepare the cleaning solution.
In a bucket, add warm water and mix it with vinegar. The ratio should be two with one; add two cups of water for one cup of vinegar. This will create a strong solution to disinfect and clean the floor without harming it. It is best recommended to use distillate white vinegar, which has only 5% acid and is more safe to use.
Step 3: Mop the floor.
Next, mop the floor with the natural cleaning solution you prepared. The process is the same as usual; wring out the mop and making sure to clean in all areas.
Step 4: Rinse.
Saltillo tile floor can be quite sensitive to vinegar, so it’s not recommended to let it rest for a long time. Preferably, as soon as you finish moping with vinegar water, you should rinse the floor. Add only warm water in a bucket and use a cloth or a mop to remove the remaining vinegar solution from the floor.
Step 5: Dry the tile floor.
Last, but not least, make sure to dry your floors with a towel or a dry cloth. Do this immediately after moping and rinsing the floor to avoid water stains, discoloration, or other damage.
Important note; While vinegar can be a great, not toxic alternative, it can potentially destroy the Saltillo tile floors due to their porous nature. If absorbed, the high acidic concentration of vinegar can cause irreparable damage to the point of erosion. You should be extra cautious if your floor has a sealed or polished finish, which is more acid-sensitive. If you must choose vinegar as a cleaning solution, at least choose an option with a low acidity percentage, and don’t let it rest on the floors for more than necessary.
How to Clean Saltillo Tile Grout
We briefly explained how to clean Saltillo tile grout, but it’s important to go over the process again, this time in detail.
Step 1: Gather your cleaning tools.
To clean the Saltillo tile grout, you will need a few supplies; a spray bottle, water, white distilled vinegar; baking soda, a small bowl, a toothbrush, and a microfiber cloth. These are all things that you probably have at home, so the cost for all that is very low.
Step 2: Create a cleaning paste.
Mix baking soda and water in a small bowl until you create a paste-like substance. It must be thick, so careful with the amount of water you are using. This paste is very simple to make but effective as it works as a natural cleaner. It is abrasive enough to get the job done but is
Step 3: Apply the paste to the grout.
If you have one, apply the cleaning paste directly to the grout using an old toothbrush or a grout brush. Cover all the grout lines throughout, and let it sit for 10 to 15 minutes. This way, you allow enough time for the paste to penetrate enough to loosen up all dirt and stains.
Step 4: Scrub the grout.
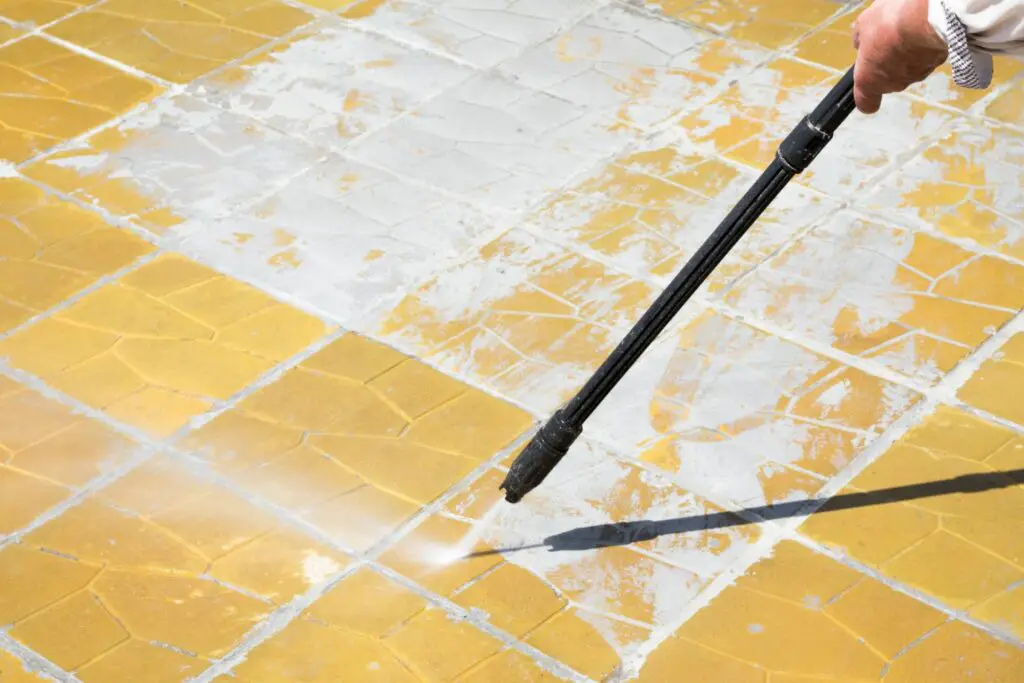
After 15 minutes at max, it’s time to scrub. Use the old toothbrush or the grout brush to scrub throughout the lines. Don’t be harsh; some moderate pressure and back-and-worth motions are enough to clean it. Don’t steam clean the grout, as steam cleaning can damage grout if done on improperly sealed or cracked grout,
Step 5: Rinse with vinegar solution.
Fill in the spray bottle with equal parts of lukewarm water and vinegar. The ratio should be one with one, meaning for one cup of vinegar, add one cup of water. After closing the bottle cap, shake the solution until it’s mixed thoroughly. Spray the vinegar solution on the grout lines and scrub again. This is the best way to remove all the hard stains or accumulated dirt. Rinse the grout lines with water and a mop or microfiber cloth.
Step 6: Scrub again and rinse.
It’s time for one last scrub, but this time only with vinegar solution and a toothbrush. Spray some more of the vinegar and repeat the same process. This is necessary to ensure it’s completely clean and remove all the stubborn stains. When finished, rinse the floor with warm water without giving vinegar time to sit.
Step 7: Dry the grout.
An old towel, a dry mop, or a microfiber cloth will do this last step. Dry the lines completely, and watch out for any stains you might have missed.
Best Saltillo Tile Cleaners
We have provided various methods for cleaning indoor and outdoor Saltillo tile, using natural ingredients as well as cleaning solutions. If you opt for the latter, it is important to choose the best cleaning solution for your saltillo tile. These cleaners offer a range of cleaning solutions but vary in effectiveness, volume, and additional features. One is sure to meet any homeowner’s Saltillo tile maintenance needs.
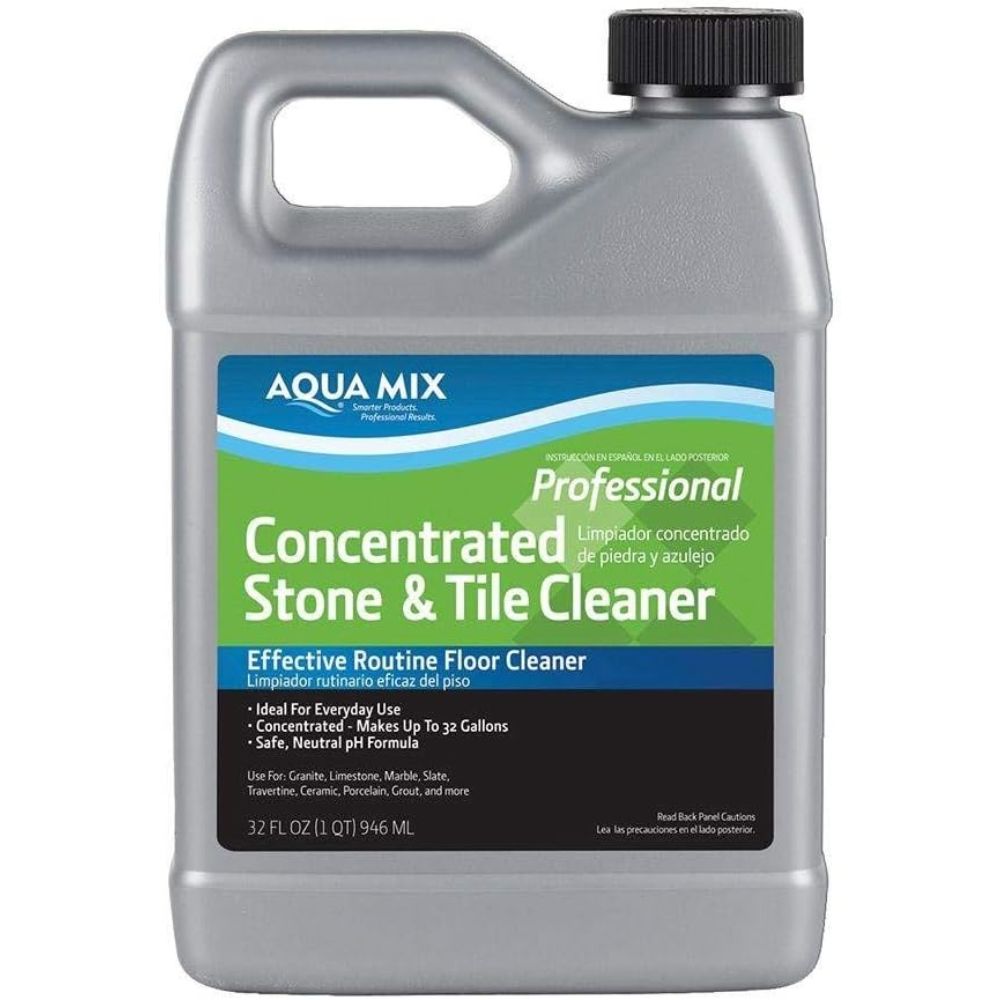
Aqua Mix Saltillo Tile Cleaner has a formula designed to clean and maintain Saltillo tiles. It is very gentle on the surface, preventing possible disfiguration, scratches, or even damage. It easily removes all dirt, helping to disinfect the floor, and leaves behind a strong spearmint aroma. It can also help remove or prevent hard water stains or soap builds. This cleaner is versatile in usage, as it can work well with other types of surfaces such as cement, ceramics, etc. As long as you follow the manufacturer’s basic instructions, it’s safe to use daily as part of the cleaning routine.
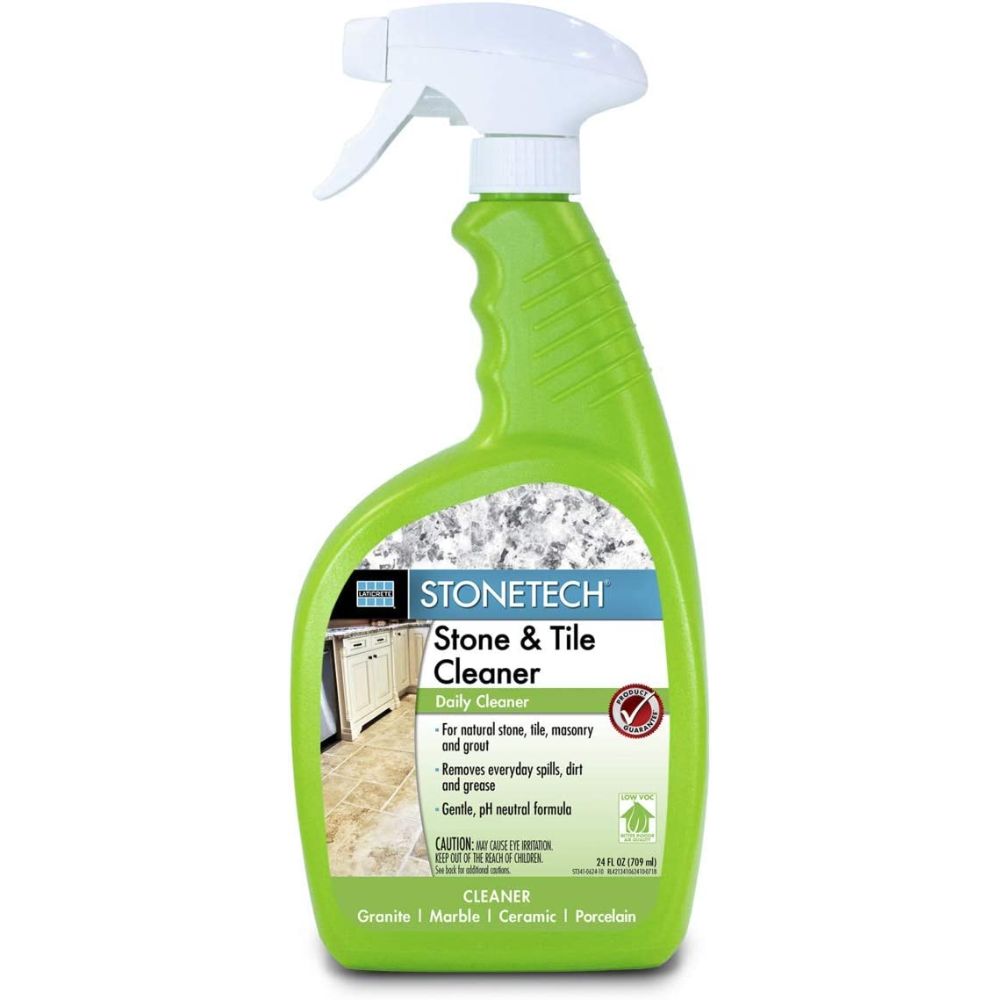
StoneTech All-Purpose Daily Cleaner is a great option for those who need a cleaning solution for various surfaces, not just Saltillo Tiles. This cleaner has a PH-neutral formula which works wonders to remove all the dirt and stains without harming the floor. Additionally, StoneTech cleaner is very gentle, so you won’t have to worry about discoloration or altering the natural shine for a dull look. After mopping, it always leaves behind a streak-free finish, which helps to maintain the saltillo tiles’ aesthetic better, and for a longer time. The cleaner comes in a ready-to-use format, in liquid form, and is reasonably priced.

Even though it’s not specifically made for Saltillo Tiles, this Black Diamond cleaner is safe to use on all-natural stone surfaces. It works perfectly well with Saltillo tiles, as it is very gentle with porous surfaces and does not harm their finish or alter their appearance. This cleaner can be used on a regular basis safely, as it’s PH-neutral and not harmful around kids, adults, or pets. The concentrated formula removes all the dirt build-up and spills and disinfects the floors. The using instruction is on the labels, and they are very easy to follow. However, before mopping the floor, make sure to apply a little amount of the solution to the tiles as a discoloration test, just to be sure that it will work with your floor.
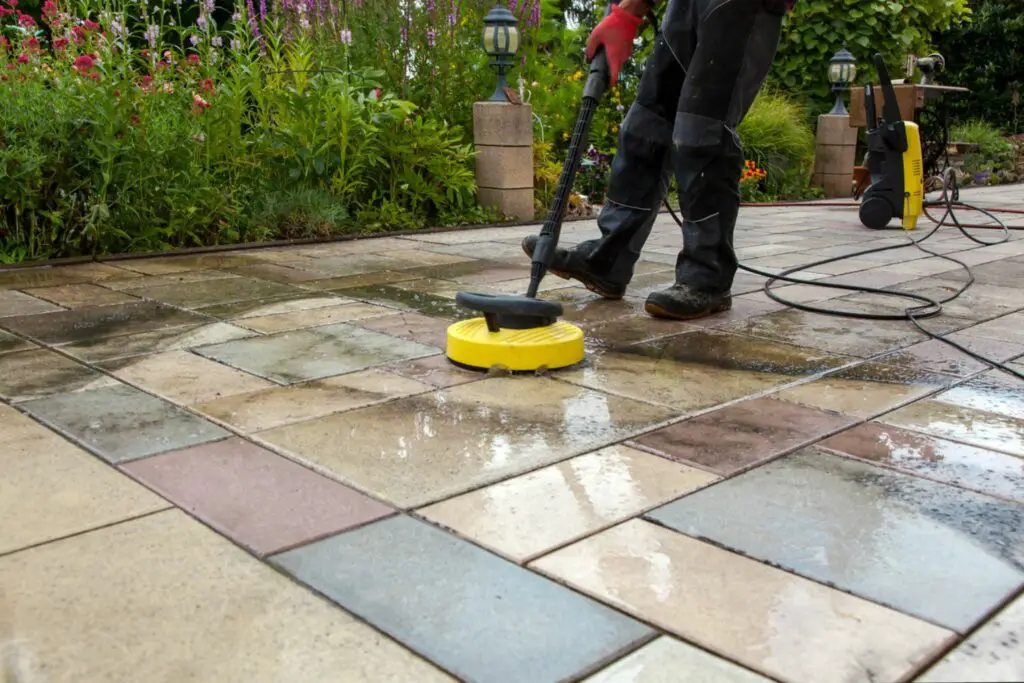
DIY vs. Professional Saltillo Tile Cleaning
To clean Saltillo tiles, you have two choices: do it yourself or hire a professional. Each option has a few pros and cons; however, there is not a definite right answer to this. When cleaning the tiles yourself, you will save a lot more money, but it will take time, and as much as you try, you can’t do the same as a maid. Professional cleaning can be a safer choice when it comes to protecting and cleaning the tiles, as you will achieve the desired result faster without spending much energy. The cost to hire professional cleaners depends on where you live; however, in the States’ it is anywhere from $0.50 to $3.00.
Saltillo Tile Maintenance
There are some simple yet effective rules to keep the saltillo tiles looking as if they are brand new, even years after picking them. Here’s what you should do;
- Regular cleaning – it’s crucial to clean often to keep the floor sparkling. That’s the only way to remove all the dirt, debris, and accumulated filth.
- No harsh chemicals – an abrasive mix of chemicals can damage the tile’s finish, diminish its shine and even cause permanent damage. Go for gentle formulas that have at least a neutral PH level.
- Sealing – surfaces with saltillo title and other natural stones need constant sealing to be more protected from oil and water stains.
- Grout maintenance – keep the grout liner clean constantly to avoid build-up dirt or any possible damage.
- Avoid accessible water – or else it can cause irreparable damage to your floors.
Conclusion
There you have it! We touched everything there is to know on how to clean Saltillo floors. The step-by-step process is quite simple and effective if you follow the instructions. Soon, you will be able to learn it by memory, but meanwhile, feel free to get back to this article as often as necessary to make sure you are doing a good job. You don’t want to ruin your floor’s aesthetic for a simple mistake that could have been avoided.
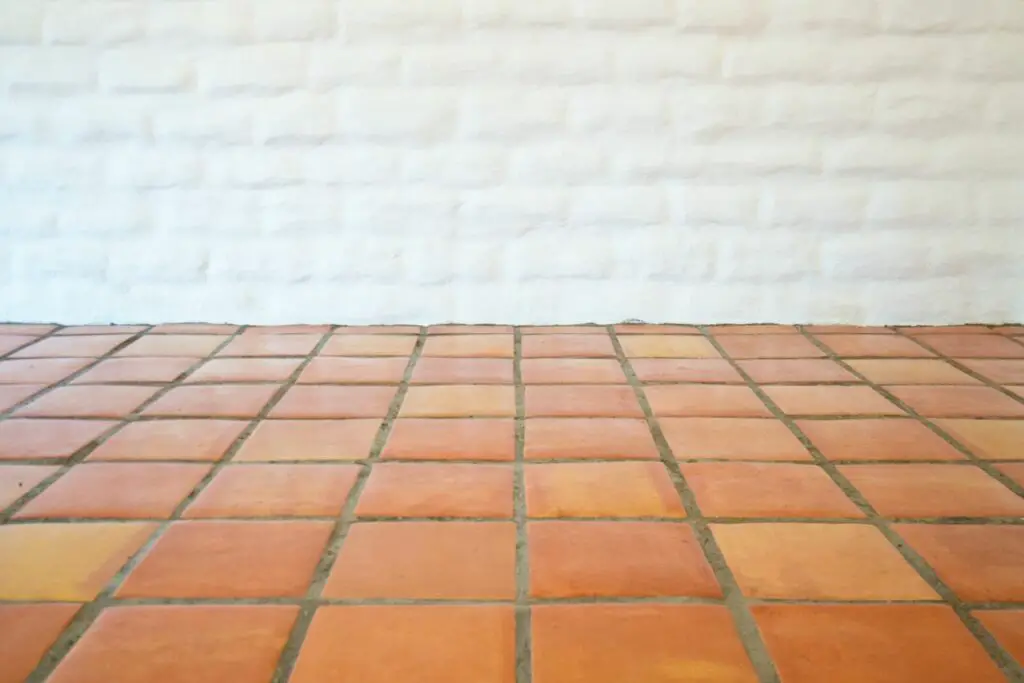
Saltillo tiles are beautiful and add a lot of character to the home; however, they are very delicate and prone to damage. However, it doesn’t have to be this way as long as you commit to their cleanliness and maintenance. As we said initially, it takes only a few tools and the process we already explained.
FAQs
Even with comprehensive guidance on the most effective methods for maintaining and cleaning Saltillo tiles, there may be some questions left unanswered. Continue reading for responses to the most frequently posed questions regarding the cleaning of Saltillo tiles and the best types of cleaning products to use.
Q: Is Saltillo tile easy to clean?
Saltillo tile is an incredibly durable and long-lasting flooring option. Not only are they easy to install, but they are also quite easy to clean. Most of the time, all you have to do is a good vacuuming or sweeping of your Saltillo tile flooring in order to keep them looking their best. If there’s a bit more dirt or grime that needs removing, giving the tiles a warm water rinse and gentle scrub with a brush can help restore the shine and remove any extra dirt. However, be sure not to use too much water or overly harsh chemicals when cleaning them as it could damage the sealant on the tiles and cause discoloration. Overall though, saltillo tile is an extremely easy material to maintain compared to many other types of flooring!
Q: How often should you seal Saltillo tile?
The frequency with which Saltillo tile should be sealed depends on the care and maintenance applied to the surface. If regular maintenance is performed, such as polishing or stripping of waxes and sealers, then re-sealing may not be necessary. Sealing Saltillo tile is a good idea for protection against spills and dirt buildup on the surface. Generally speaking, it is recommended that you reseal your Saltillo tiles every one to two years depending on foot traffic in order to maintain its natural beauty.
When it’s time to apply a new sealer, make sure all existing waxes or sealers are removed prior to application. This can be done by cleaning the tile with a mild detergent or using a degreaser when there has been exposure to grease or oil buildup over time. After cleaning, rinse off any soap residue from the tiles’ surfaces before applying sealing product of your choice either by brush, roller or spray applicator (follow manufacturer’s instructions).
Q: How can I make Saltillo shine?
Start by cleaning the Saltillo tiles with an alkaline cleaner like Tilex or diluted trisodium phosphate (TSP). Alternatively, if you’re looking for something more natural, try mixing baking soda and water into a paste and then scrub the tiles down. You’ll be amazed at how this simple step can bring back the brightness in your Saltillo tile!
After it’s all cleaned up, use a sealant to help protect it from dirt and grime buildup that can dull your saltillo over time. Water-based sealers such as Ole Mexican Tile Sealer will provide an anti-staining layer without ruining the natural look of your tiles while adding a high gloss sheen that will make them sparkle in any light. To apply this product, ensure all residue on the surface is removed before using multiple coats as instructed on Ole MexicanTile Sealer packaging – usually two thin coats separated by 24 hours should do it!
