Hello and welcome to this home improvement episode, where we will talk about how to remove grout haze from porcelain tile! Grout haze is a real pain whenever it happens, but good ol’ me will provide you with solutions to get rid of it once and for all if it has happened to you too.
You must research proper removal methods and tools for grout haze if you plan on removing it, as using the wrong tools and methods could damage your tiles. Although porcelain tiles are highly durable, they can still chip and crack if handled wrongly.
I have listed a couple of methods that are the safest and have worked for me in the past. Read on to see which one will work best for you!
What Is Grout Haze?
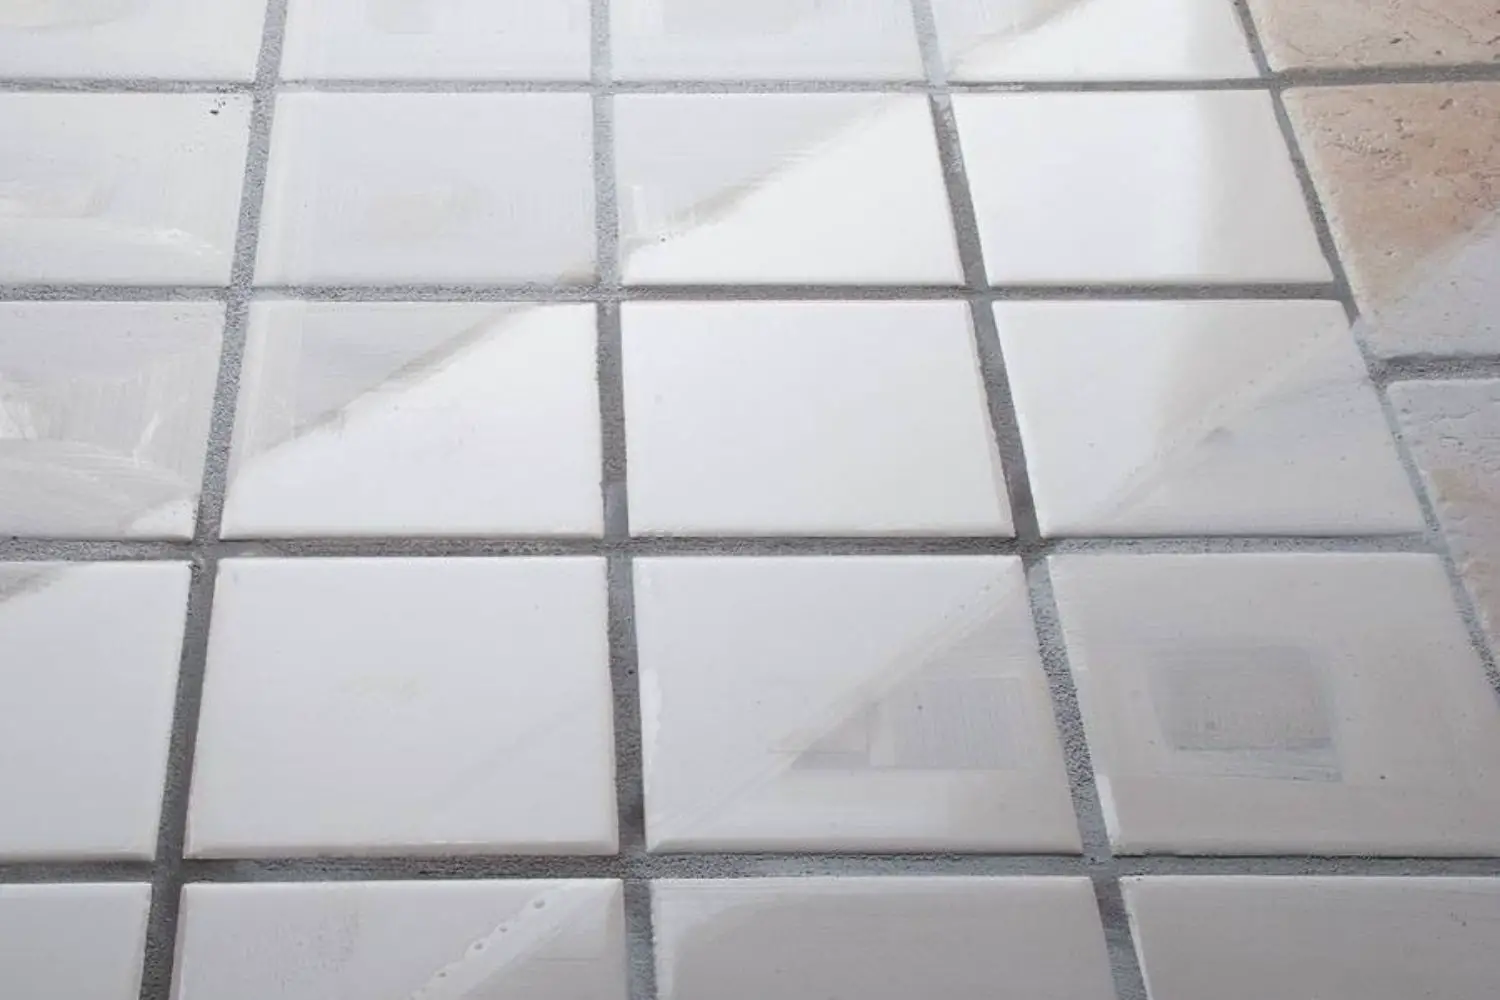
If grout haze is not an occurrence you are familiar with and would like to learn more about, this section is for you! Grout haze is a foggy film that forms on the tile if excess grout has dried on top of it.

This phenomenon is more common than you might think; if it has not caught your attention, it is most likely because the grout was removed before it could dry and form the foggy film. The best way on how to remove stubborn grout haze is to quickly wipe off grout that has gotten on the tile before it begins to dry.
Note: The more you leave excess grout on the tile to dry, the more difficult it becomes to clean it afterward.
Additionally, you should pick the right removal method, as you can easily damage the tile underneath if you use an unsuitable approach. Let’s cut to the chase and let you in on a few methods for grout haze remover porcelain tile style that might work for you!
Tools Needed
Before we get to the methods on how to remove grout haze from porcelain tile surface, let’s take a look at the tools you will need on this journey!
Tools needed: Warm water at hand, a scrub brush or sponge (preferably grout sponge), cheesecloth or anything similar, vinegar, grout haze remover, mild dish soap, a spray bottle, and brillo (scouring) pads.
These tools will be used in one or more of the methods below, in no specific order. Depending on the severity of your grout haze mishmash, you may or may not need to use some of the objects and substances listed above.
How to Remove Grout Haze from Porcelain Tile
Now that we are all set with the tools, it is time to learn how to remove grout haze from porcelain tile. Choose one of the methods described below depending on the severity of your haze problem:
METHOD 1: Remove Grout Haze Before It Sets
This method will only work if you have not allowed the grout to dry completely after applying it. The process is simple: you will clean the excess grout off the porcelain tiles. If you have just applied the grout on grout lines, you are lucky because you will not need much effort to get your tiles clean.
To be honest, this is more of a preventative method, as grout haze will not have formed yet, but it is the best practice you should always follow to minimize the damage.
The process is simple: after the grout’s application, let it set for about 10 minutes so that the grout in the grout lines will start to dry. This step will ensure that you will not ruin your hard work by accidentally scrubbing off the newly applied grout.
After letting it set, take a cheesecloth or sponge, put it in warm water, and wipe off the excess grout on the tiles. Squeeze the water out after cleaning and wash the cloth or sponge frequently to rinse the grout stuck in it and prevent it from spreading.
METHOD 2: Rubbing off the Grout Haze
If simply washing the grout haze away is not doing it, perhaps rubbing the grout haze away might work. This second method differs from the first one as you will need to rub and scrub the tiles clean instead; it is more demanding as it does require some manual labor.
However, if the grout is not yet dry or barely dry, you are in good shape to use this method to avoid creating any mixtures or using commercial cleaners.
Take a grout sponge, cloth, or brush, and use dish soap if you like to make the process easier. Start scrubbing the tile’s surface on the parts that it has been contaminated with grout. Use a little force as you see fit to remove the grout.
Again, wash the tool you are using frequently to remove the grout you have wiped off unless you want it further spreading on your tiles.
METHOD 3: Using Vinegar
If the grout haze has been drying for a while and none of the techniques above are working, you could try a non-chemical, homemade approach. For this method, you will need to mix 1 part water with 1 part of white vinegar, depending on the surface area you need to clean. Fill a spray bottle with this 1:1 ratio mixture.
You will need to let the grout cure a couple more hours before using this mixture. That said, you should wait around 24 hours maximum, as letting the grout cure for more will make it more difficult and time-consuming to clean using vinegar.
After completing the preparatory phase:
- Spray the tiles with the water-vinegar blend.
- After spraying generously, use brillo (scouring) pads to rub off the grout haze. Vinegar will break down the grout film and make it easier to scour.
- Keep doing that until you notice the grout coming off. Finally, clean the tiles using a cloth.
Follow this process until your tiles are fully clean.
METHOD 4: Using Grout Haze Remover
If none of the other options I described above work, you are left with two choices: using a chemical (commercially available) grout haze remover or removing your tiles. Assuming you do not want to spend more money on your tile project than you already have, you are left with the grout haze remover.

Porcelain tile
Ceramic tile
Glass mosaic
Glazed quarry tile
You can find grout haze removers in local home improvement shops or online if not applicable. Some brands you should consider when choosing a grout haze remover are Aqua Mix, DuPont, or Stone Care International.
The process of cleaning your tiles with commercial products is similar to that of the vinegar-water mixture. First, you should let the grout dry enough to avoid ruining your grout lines and then clean off what residue remains on the tiles.
Second, you should get two bucks, one which you will use for the grout haze remover and one to fill with water for cleaning. For extra caution, put some latex gloves on before mixing the product. Read the instructions that come with it carefully, and then mix the product with some water.
Use normally diluted grout haze remover if the film is mild, and if the haze seems too dry and stubborn, use the grout haze remover undiluted for better effects. Use a brush to dip into the product and start scrubbing the tiles. Rinse with water from time to time and repeat the process until you have successfully removed all of the grout haze.
How to Prevent Grout Haze?
Now that we are coming to a close, it is important that you understand how grout haze forms. It is a common process that transpires if you let excess grout dry on your porcelain tiles. Even more importantly, you should have understood by now that the quicker you get to cleaning your grout residue, the easier and quicker you will get it off your tiles.
Another thing to note is that some newly manufactured tiles come with a protective film applied to them, which will come off together with the grout haze after a normal cleaning session after you install them.
Additionally, you can avoid the whole grout haze issue if you seal your tiles before you begin the grouting process. Nowadays, there are many choices of porcelain tile sealers that work perfectly against all residue.
Sealing your porcelain tiles will not only make the grout haze cleaning process easier, but it will also protect them from water or oil spills, or cracks and chippings that could occur from heavy foot traffic or accidentally dropping heavy things on the tiles (happened to me more than once!).
All things considered, it would be a great idea to seal your tiles as tile sealer’s benefits go beyond the cleaning process.
Additional Tips
I could not end this guide without a couple of extra tips for you to keep in mind when dealing with grout haze:
- Try to remove as much excess grout as you can during the grouting process by using the rubber float. This technique is ingenious, as the rubber float is soft and unlikely to gouge out grout from your grout lines. Consider doing this to minimize the grout haze issue; the more grout on the tile, the more difficult it becomes to remove once it hardens.
- Speaking of grout hardening, you should actually let it dry before attempting to remove it from the tile; otherwise, you could potentially remove some grout from the tile joints by accident.
- Do not use steel wool to rub off the grout haze. While it will definitely work to remove it, it will also damage your beautiful porcelain tiles, no matter how durable they are.
- If you have a stubborn grout haze problem and must go the grout haze remover route, be careful with your choice. Some removers contain extremely harsh chemicals that may discolor the tiles.
Conclusion
At last, it is time for a quick recap of everything you need to know regarding grout haze and its removal. Grout should be cleaned off the tiles as soon as possible after getting on the tiles, but not before it has dried off for a while. There are four methods that I suggest using to clean grout haze.
You can pick whichever best fits the severity of the issue. For mild cases, clean the tiles with water and a grout sponge or rub the grout haze off with water and dish soap. If the grout haze is too stubborn, try the water and vinegar option. For more severe cases, you should use grout haze removal products.
It is important that you try to prevent the issue rather than deal with its consequences. Grout haze can be avoided if the excess grout is cleaned immediately or if you seal your tiles before you start the grouting process. Sealing is a good idea to ensure the longevity of your tiles, as it will protect them from grout haze and also other types of external damage.
